Window tint is more than just a stylish upgrade; it enhances privacy, blocks harmful UV rays, reduces interior heat, and helps protect your vehicle’s interior from sun damage. However, even the highest-quality window film can fail prematurely if it isn’t properly cared for after installation.
The first few days following installation are especially important because the adhesive needs time to cure completely. During this period, certain actions can interfere with the bonding process and affect both the appearance and performance of your tint.
In this guide, you’ll learn the most common mistakes to avoid after window tint installation and discover simple maintenance practices that help your tint stay in excellent condition for years.
Why Proper Window Tint Aftercare Matters
Professional window tint installation is an investment. Proper aftercare helps ensure you receive the full benefits of your tint, including:
- Long-lasting appearance
- Maximum UV protection
- Improved heat rejection
- Reduced glare while driving
- Better privacy and security
- Prevention of peeling, bubbling, and discoloration
Taking a few precautions during the curing period can significantly extend the lifespan of your window film.
1. Rolling Your Windows Down Too Soon
One of the most common mistakes is lowering your windows before the tint has fully adhered to the glass.
The adhesive beneath the film requires time to cure. Rolling the windows down too early may cause the edges to lift, shift, or peel, potentially requiring repairs or reinstallation.
Most professional installers recommend waiting three to five days, although colder or more humid weather may require a longer curing period. Always follow the specific recommendations provided by your installer.
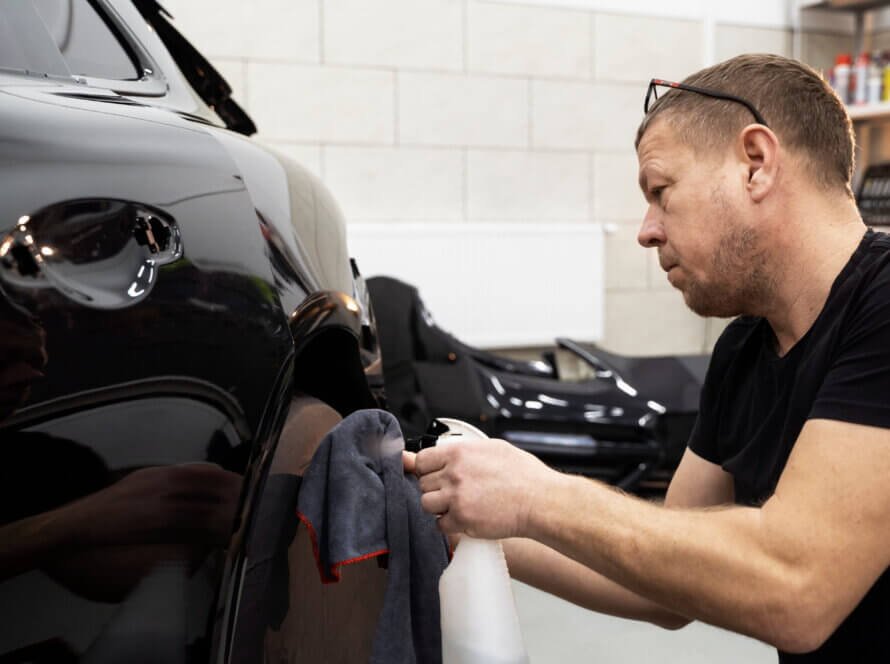
2. Cleaning Your Windows Immediately After Installation
It can be tempting to clean fingerprints or dust from newly tinted windows, but cleaning too soon may interfere with the curing process.
Allow sufficient time before cleaning the interior surface of the windows. Once the film has cured, use only gentle cleaning methods to avoid damaging the tint.
3. Using Ammonia-Based Glass Cleaners
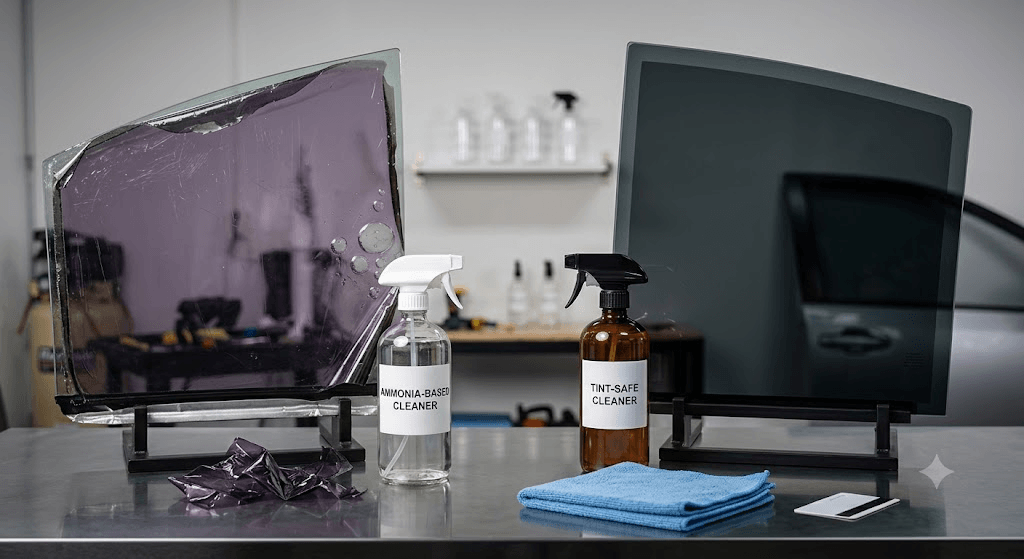
Many household glass cleaners contain ammonia, which can gradually damage window tint by causing fading, discoloration, or adhesive breakdown.
Instead, choose:
- Ammonia-free glass cleaners
- Tint-safe cleaning solutions
- Distilled water with a small amount of mild soap
- Clean microfiber cloths
These options safely remove dirt without harming the film.
4. Using Paper Towels or Rough Cloths
Paper towels may seem harmless, but their fibers can create fine scratches over time.
For the best results, always clean tinted windows using:
- Soft microfiber cloths
- Lint-free towels
- Gentle wiping motions
Avoid abrasive pads, brushes, or rough cleaning materials.
5. Worrying About Small Water Bubbles
Many vehicle owners become concerned when they notice small bubbles shortly after installation. To better understand what’s normal and what’s a common misconception about vehicle window tinting, it helps to know what to expect.
In most cases, these are simply moisture pockets trapped beneath the film during installation. They typically disappear naturally as the adhesive cures.
However, if bubbles remain after the recommended curing period or continue growing, contact your installer for an inspection.
6. Attaching Suction Cups or Stickers Too Soon
Phone mounts, GPS holders, parking permits, and decorative stickers can place unnecessary stress on fresh tint.
Wait until the tint has completely cured before attaching anything to the glass. Even then, minimize the use of suction-mounted accessories on tinted windows whenever possible.
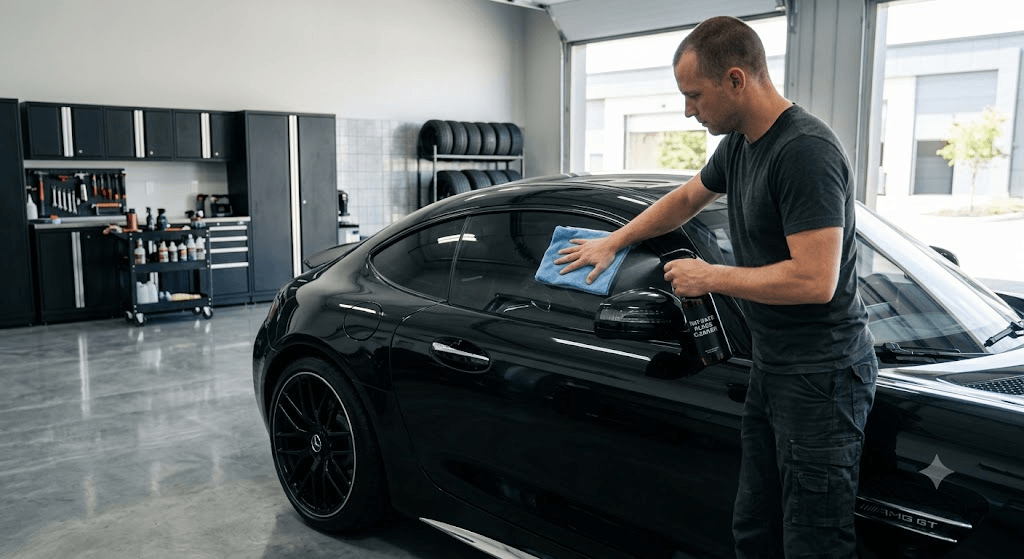
7. Washing Your Vehicle Too Aggressively
Exterior washing is generally safe, but avoid directing high-pressure water directly at the edges of newly installed tint.
When washing your vehicle:
- Use moderate water pressure.
- Avoid scraping near window edges.
- Be cautious with automatic car washes that use aggressive brushes.
Gentle washing helps preserve the film during the curing period.
8. Ignoring Weather Conditions
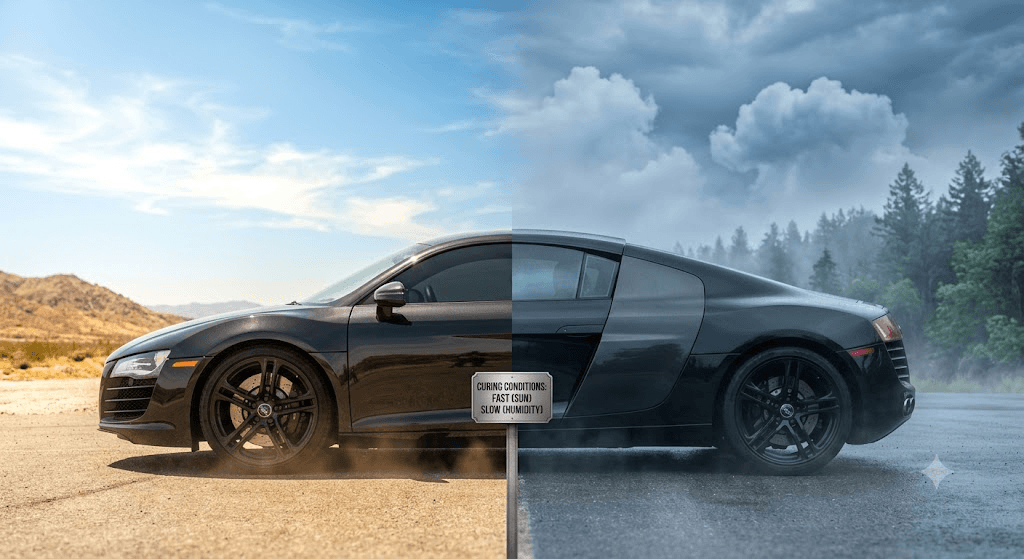
Temperature and humidity directly affect curing time.
During colder or humid conditions, window tint may require additional time to dry completely. Don’t assume your tint has cured simply because several days have passed.
If your installer provides weather-specific instructions, follow them carefully.
9. Attempting DIY Repairs
If you notice peeling edges, scratches, or persistent bubbles, avoid trying to fix them yourself. In some situations, removing automotive window tint safely and reinstalling professionally is the better option.
Improper repairs often make the damage worse and may require replacing the entire piece of film.
Professional installers have the tools and experience needed to evaluate whether the tint can be repaired or should be replaced.
10. Forgetting Routine Maintenance
Proper care doesn’t end after the first week. Similar to how ceramic coating aftercare is essential for paint protection, consistent maintenance is key to maximizing window tint longevity.
To maximize the lifespan of your window tint:
- Clean windows regularly using tint-safe products.
- Avoid harsh chemicals.
- Use microfiber cloths.
- Inspect edges periodically.
- Remove dirt before it builds up.
- Park in shaded areas whenever possible to reduce long-term heat exposure.
Consistent maintenance helps your tint maintain its appearance and performance for many years.
Signs Your Window Tint May Need Professional Attention
Contact a professional installer if you notice:
- Large bubbles that remain after curing
- Peeling or lifting edges
- Purple or faded film
- Deep scratches
- Visible adhesive failure
- Cracking or separation
Early inspection can often prevent more extensive damage.
Frequently Asked Questions
How long should I wait before rolling my windows down?
Most installers recommend waiting three to five days, although curing may take longer depending on temperature and humidity.
Can I wash my car after window tint installation?
Yes. Exterior washing is generally safe, but avoid high-pressure water directly on freshly tinted window edges during the curing period.
What cleaner is safe for tinted windows?
Use ammonia-free, tint-safe glass cleaners together with a clean microfiber cloth.
Are bubbles normal after installation?
Small moisture bubbles are usually normal and disappear as the film cures. Persistent bubbles should be inspected by your installer.
How long does window tint take to cure completely?
Depending on climate and film type, curing can take anywhere from several days to several weeks.
How can I make my window tint last longer?
Use tint-safe cleaners, avoid abrasive materials, keep windows clean, and follow all aftercare instructions provided by your installer. It’s also worth understanding the best window tint percentage for your car to ensure optimal performance from the start.
What are the legal tint limits in Ontario?
Before getting your windows tinted, it’s important to understand the window tinting laws in Ontario and the legal window tint limit in Ontario for 2026 to stay compliant.
How much does window tinting cost in Ontario?
Costs vary by vehicle and film type. Check our window tinting cost guide for Ontario for current pricing.
How do I choose the right tint?
Our guide to choosing the right window tint for your car in Oakville covers everything you need to consider, from shade to film type.
Conclusion
Proper aftercare is essential for protecting your investment after window tint installation. Avoiding common mistakes such as rolling your windows down too soon, using ammonia-based cleaners, cleaning before the film has cured, or attempting DIY repairs can significantly extend the life of your tint.
By following simple maintenance practices and your installer’s recommendations, you’ll enjoy long-lasting protection, improved comfort, enhanced privacy, and a clean, professional appearance for years to come.
Whether you’ve recently installed automotive, residential, or commercial window tint, a little patience and proper care will help ensure your window film continues performing at its best. You can also explore the environmental benefits of window tinting and paint protection to understand just how much value quality tint adds beyond aesthetics. Ready to get started? Contact WestSide Pro today for professional window tinting in Oakville and Mississauga.