At West Side Pro, we’ve removed thousands of window tints over the years. Whether a tint is bubbling, peeling, or just outdated, taking it off safely is a process that requires patience and the right approach. Many DIY attempts go wrong because people rush it or use harsh tools that damage glass or rear defroster lines.
In this guide, our Window Tint Experts walk you through the same method we use in our shop. With the right tools and a careful approach, it’s possible to take tint off at home without harming the glass or electronics.
Step 1: Prepare Your Workspace
Before touching the tint, set up your work area the way we do in the shop. Park the car somewhere shaded with plenty of fresh air. This helps prevent fumes from building up and keeps the adhesive from drying out while you work.
Inside the car, cover your seats and panels with cloth or tarps to protect them from adhesive remover and heat. We also keep a trash bag handy for discarded film. Safety glasses and gloves are a must, small shards of tint and chemicals can easily irritate skin and eyes.
Step 2: Gather the Right Tools
In our detailing shop, we never start a tint removal without these basics:
- A heat gun (or a strong hair dryer for lighter jobs)
- A razor blade or plastic scraper
- An adhesive remover or isopropyl alcohol
- A spray bottle with warm, soapy water
- Microfiber cloths
- Gloves and safety glasses
Having these ready means you won’t stop mid-job to find supplies a common DIY mistake that can make tint removal messy and frustrating.
Step 3: Heat the Film to Loosen the Adhesive
This is where most people make errors. If you pull tint off cold, it tears and leaves glue behind. At West Side Pro, we heat the film first.
Hold the heat gun or hair dryer a few inches from the glass and move it slowly across the surface. The goal is to warm the film evenly until the adhesive softens, not to overheat and damage the glass. You’ll notice the film getting softer as it warms up—that’s when it’s ready to come off.
Step 4: Begin Peeling from a Corner
When the tint feels flexible, we start at one corner of the window. In our window tinting services, we usually use a razor blade just to lift that first edge, keeping the blade flat to avoid scratching the glass. Once we have a good grip, we peel the film back slowly and evenly.
Once a corner is free, we slowly peel the tint back with steady, even pressure. The key is patience. Pulling too fast can cause the film to tear or leave adhesive stuck to the glass. We work in smooth motions until the majority of the tint comes off in one piece.
Step 5: Handle Layer Separation Carefully
Some older films separate into layers. You might peel the top layer off and find a second layer still clinging to the glass. In this case, we reapply heat and gently use a scraper to lift the remaining layer.
Trying to rip it off without softening it first only makes the job harder and messier. Our experts recommend keeping your heat gun moving and working slowly to avoid leaving patches of glue behind.
Step 6: Remove Adhesive Residue
Even with a perfect peel, you’ll usually have sticky residue left on the glass. In the shop, we spray the area with adhesive remover or isopropyl alcohol and let it soak for a minute.
Then, using a plastic scraper or microfiber cloth, we gently wipe away the softened glue. This part is important because leftover glue can smear and leave the glass looking hazy. We keep working in small sections until every bit of adhesive is removed.
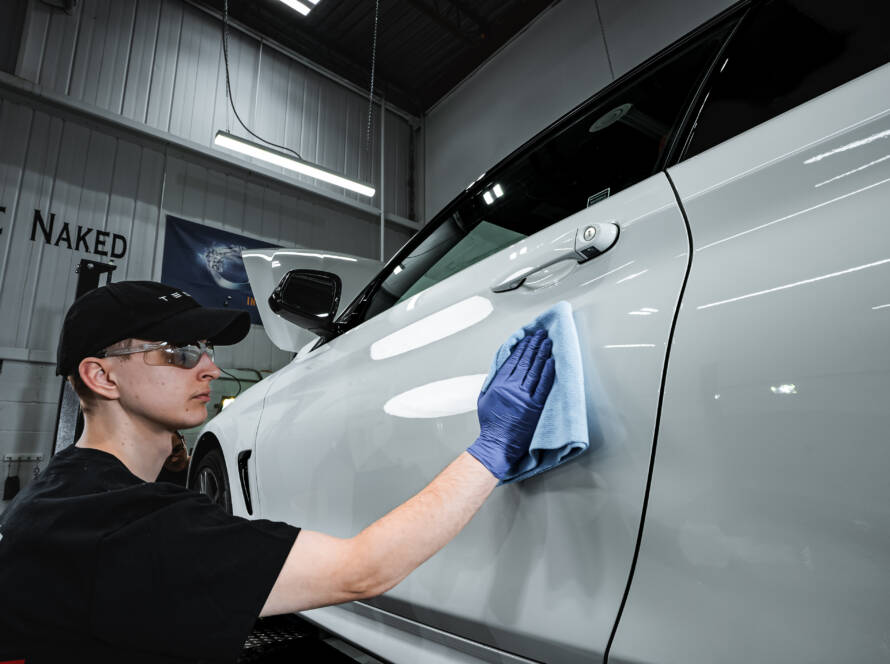
Step 7: Final Cleaning and Inspection
With the adhesive gone, we wash the glass using warm, soapy water and a soft microfiber cloth. At West Side Pro, we also take a few minutes to check the rear defroster lines to ensure they haven’t been damaged during removal.
Once we’re sure everything’s clean and working as it should, we dry and buff the windows until they’re completely clear. The result should be a clean, smooth glass surface with no streaks or damage, ready for a fresh tint installation or to stay completely clear.
Before you reapply a new film, it’s important to understand the different window tint percentages and how they affect visibility, appearance, and legal compliance. Explore our guide on window tint percentages.
Need Professional Help?
Removing tint safely takes time and care. At West Side Pro, our experts of window tinting handle this process every day with precision tools and techniques designed to protect your car’s glass and electronics.
If you’d rather have it done quickly and safely, book an appointment with our team. We’ll handle the hard work and leave your windows looking factory-fresh.
FAQs
1. Can I take window tint off myself?
Yes, you can if you’re patient and have the right tools. You’ll need heat to soften the film, a way to peel it off slowly, and adhesive remover to clean up the glue. The tricky part is avoiding scratches or damaging rear window defrosters, which is where many DIY jobs go wrong.
2. How long does it usually take to remove all the tint?
On most vehicles, the process takes about one to three hours. It depends on how old the tint is, the type of film used, and whether it has started to separate into layers. In our shop, we finish faster because we use commercial-grade tools designed for clean removal.
3. Can removing tint harm my defrosters or electronics?
If done the wrong way, yes. Scraping too aggressively or using harsh tools can damage rear window defroster lines. At West Side Pro, we follow a careful process that protects these components so everything works perfectly when the tint is gone.
4. What’s the safest way to get rid of sticky residue?
We typically spray an automotive adhesive remover or isopropyl alcohol on the glass and let it sit for a minute. That softens the glue, making it easy to wipe away with a microfiber cloth or remove with a plastic scraper without scratching the window.
5. Is it better to hire a professional instead of doing it myself?
If you’ve never done it before or you want to avoid the risk of damaging your windows, calling a professional is the safer choice. Our team has specialized heat tools, non-scratch scrapers, and years of experience removing tint cleanly and quickly.
Conclusion
Removing automotive window tint isn’t just about pulling film off a window. Done wrong, it can scratch glass, damage rear defroster lines, and leave stubborn glue behind. At West Side Pro, we’ve refined a process that ensures a clean, safe removal every time.
If you’re comfortable taking your time and following each step carefully, you can do it at home. But when you want professional tools, a flawless finish, and zero risk, our experts are here to help. Contact West Side Pro today and let us restore your windows to their original, clear condition..